
Introducing the Halfords Motoring Club
Halfords are here to help with all your staycation needs. Join the Halfords Motoring Club today to access a
range of amazing benefits and discounts that are designed to keep you moving, keep you safe and keep you
saving.
It’s free to join and you’ll receive money off your MOT, a free car health check and a welcome voucher that
can be spent on any Halfords product or service.
Or choose our Premium membership for a small monthly fee (or a one-off payment) to unlock exclusive member
pricing on all motoring products and services online and across our stores, garages and Halfords Mobile
Experts, as well as a variety of other benefits that will help you to keep moving for less.
With so much to enjoy, this is too good an opportunity to miss!
Join the Halfords Motoring Club today at www.halfords.com/motoring-club.
Thule SnowPack Roof Mounted Ski Carrier
Check Price
The three-size options will ensure that you can take all the skis or snowboards you need to on your trip. The smallest option is referred to as medium and will accommodate 4 pairs of sis or 2 snowboards. The large option can handle 6 pairs of skis or an impressive 4 snowboards, and the extended version can also handle 6 pairs of skis or 4 boards; the difference is the extender option is deeper, for thicker skis and boards.
The simplicity of this design is what really marks it out from the competition. The Thule roof rack snowpack is hinged at one end, allowing you to open it and slide your skis or boards into position and then clamp the bar down, effectively locking your equipment in place. Inside the snowpack, there is a thick layer of rubber; this helps to stop the skis and boards from moving while preventing them from becoming damaged in transit.
The operation of this product is surprisingly easy and well thought out. An oversized red button releases the bar, giving access to your skis. The button is deliberately designed oversized to ensure you can operate it even with your gloves on.
A nice extra feature is the integrated vertical spring. This allows the carrier to move lower when you need to unload it, making life just a little easier. It also has added roof clearance included allowing for skis with tall bindings. Small extension feet raise the snowpack further above the crossbars on your vehicle, allowing you to safely and securely fasten the tall skis in position.
The snowpack will fit any of the Thule crossbars, but it has also been designed to fit most factory crossbars; it doesn’t matter if they are square, round, or aerodynamic. Although they slot easiest into a T track, the snowpack can also be fastened to standard crossbars via a standard strap; make sure it’s tight to ensure your load doesn’t move in transit.
Don’t forget; you’ll need 2 of these on your roof to accommodate your skis and boards. While it may be tempting to fasten your equipment to the existing crossbars, this will not be as secure as using the snowpack, which also does a good job of protecting your skis and boards from damage during the journey. In addition, each pack comes with 2 carriers; you don’t need to buy 2 packs, but you need to fit both carriers.
A final point worth noting is the inclusion of a locking mechanism, you may not be able to do this with your glove, son, but it is an effective way of keeping your skis and boards safe.
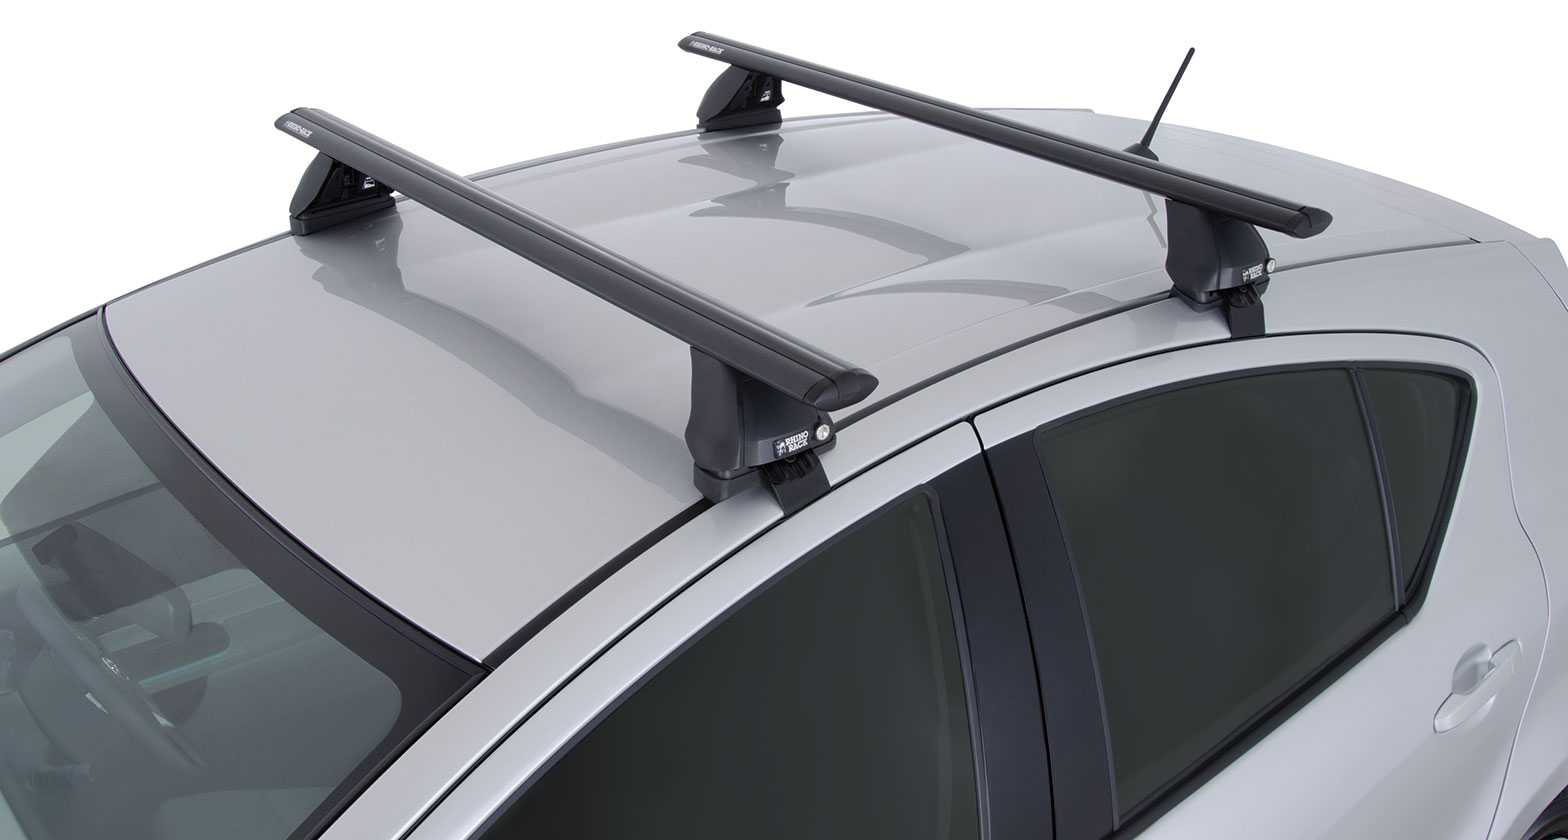
Thule Aeroblade Edge
Check Price
Available in various sizes depending on the width of your roof; 43”, 47”, 53”, and 60”. You’re certain to find one that will fit your vehicle.
If you’re looking for the very best crossbar in existence, then look no further. The Thule Aeroblade Edge is a high-quality bar designed to work with all different types of Thule feet, ensuring a solid connection to your vehicle and the ability to carry any load safely.
The front edge of these rails has a textured surface; this is known as the wind diffuser; it pushes the wind up and over the Thule roof rack to minimize drag and handling issues. In addition, the textured surface ensures that the wind noise is minimal compared to a smooth surface. Finally, you should be aware that these strips are fitted to the rack yourself after you’ve installed them; this ensures they are positioned on the front edge and cut to the correct size before being installed.
An Aeroblade is considered to be one of the strongest crossbars on the market; this is thanks to the BoxBeam aluminum extrusion. Alongside this, you’ll find caps over each end of the bar, which are referred to as “SwingBlade” end caps. These pivot out of the way to allow you access to the T-slot, which is used to install almost all accessories. Designing it like this not only makes adding accessories easy, it also ensures the T-slots are protected from the elements, and you never lose the end caps.
You’ll also notice the SmartSlide system that is built into the Thule Aeroblades. The idea behind this is that you can easily install the cross bars onto your vehicle without any special tools or even a tape measure. In addition, the SmartSlide allows you to position the crossbars in the same place on both sides of your vehicle, ensuring it is securely fastened in moments.
In addition, you’ll notice extra T-strips, which can be used to cover the outer edge of the underneath of the T-slots, where the bars fit the feet. These T-strips reduce wind noise and drag, helping you to enjoy the drive regardless of what you’re carrying.
It should be noted that the Aeroblades are designed to work with Thule feet and, if necessary, a dedicated Thule fitting it. You’ll need to check which one fits your exact vehicle before purchasing the feet and attaching the bars. Fitting is as easy as sliding the bars onto the feet and locking them in place.
The Aeroblade Thule roof rack system has been tested to withstand 800lbs of force. But, of course, that’s more than you’re going to be carrying, as it’s unlikely your roof will support that much weight.
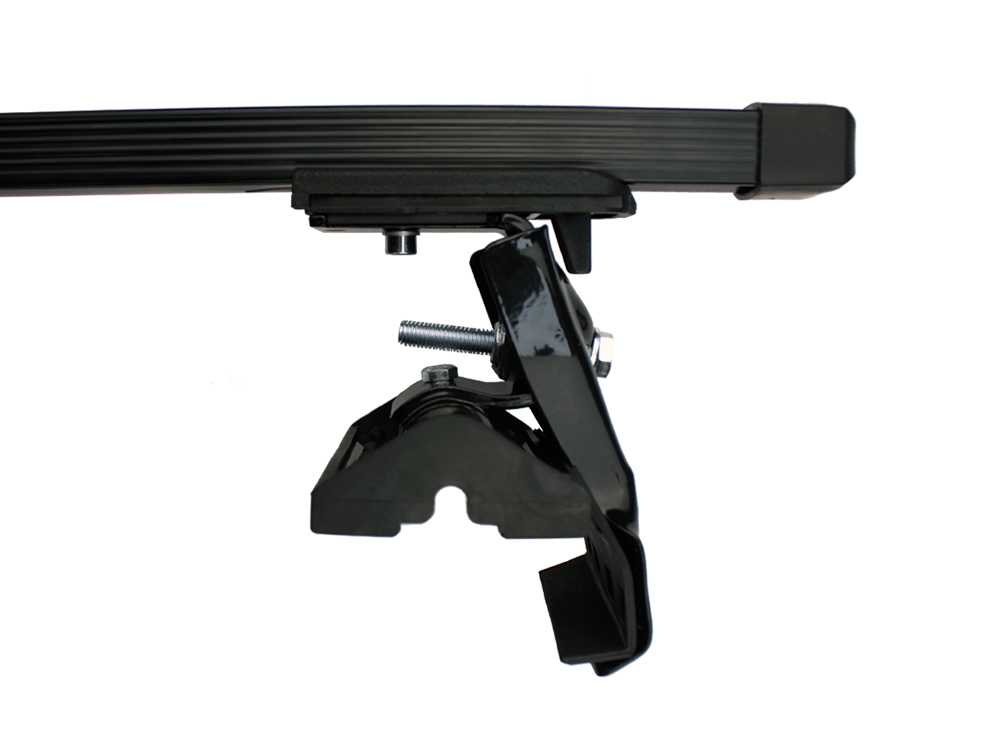
Thule Crossroad Railing Roof Rack Foot Pack
Check Price
These are the Thule feet designed to fit the Thule square bar. There are 4 feet in every pack. All you need to do is turn the handle, slide the foot into position, and lock the handle back down. You can then remove the end caps of your Thule square crossbar and slide it into position.
Although the crossbar needs to be square, these feet can lock onto your raised rails, flush-mounted rails, gutter, or even onto a normal roof. In short, you need to choose the right fitting kit for your vehicle to ensure that these feet fit perfectly and effortlessly.
Once in position, you can mount your Thule square bars and then add your Thule roof rack parts & accessories. On the side of each foot, there is a covered lock. Slide the cover out of the way, and you can lock your feet to your vehicle, making it very difficult for anyone to remove these bars without your permission.
The feet are made of steel which has been powder-coated to ensure they won’t rust. They also have rubber sections inside the clamp to ensure that the clamps won’t damage your roof rails.
Once you’ve fitted these feet and the square Thule crossbars, you’ll be ready to carry any load you want. You should note that these feet are relatively heavy. This is partly due to the material they’re made with and ensures that they don’t move while you’re in transit. If your feet are over, then the crossbars can move, and so can your load.
Thule does offer other feet specifically designed for your vehicle. The best advice you can get is to choose the feet that suit your vehicle and your needs the best; this will ensure you’re buying the best Thule roof rack system for your needs and that it will last for many years.
If you combine these with the aeroblades, you’ll barely notice any wind noise or drag, making them a fantastic addition to your vehicle and an efficient one. With these feet, you’ll have the ability to carry almost anything, no matter how far you want to go.
Thule Canyon XT Cargo Basket
Check Price
There is no doubt that this is the more stylish version of the Canyon cargo basket. It is also just as practical, with a few extra features hidden up its sleeves. Of course, you can also combine this with the cargo net to help secure your load in position and keep it there.
The Trail XT curves up and back down at the sides; this is designed to help you load easier while keeping the items within the basket area. It also helps with the aerodynamics of the basket, especially when it’s empty.
The XT uses the same clamping mechanism as the canyon, making it easy to fit any Crossbar or roof rail, whether they are a Thule product or not. However, one of the key differences with the XT is that it has integrated locks, making it very difficult for someone to take the basket when you’re not looking. It should be noted that the lock mechanisms are actually sold separately to the XT.
It has to be said that this is a smart-looking load carrier. The silver and black finish blends perfectly to create an elegant and stylish finish. This Thule roof rack base is flat, with wide supporting beams covered in rubber padding. The purpose of this is to help support loads, spreading the weight, and the rubber will help to prevent items from moving while you’re driving; unless you’re planning to corner extremely hard!
You should be aware that this is one of the few Thule roof rack options that does not come in one piece. Therefore, you will need to do some assembly. This is actually very easy, but you must follow the instructions to ensure all the elements are tightened and positioned correctly.
There are actually two size options with this basket, a medium and a large. The medium is 35.5” x 53”, with a height of 10”. In contrast, the large is 63” x 39.5”, with the same height as the smaller version. You can load up to 165 pounds of gear onto this rack safely, but you’ll need a minimum bar spread of 23.6” and a maximum of 48” to accommodate this Thule roof rack system.


There are also 8 tie-down loops included to help secure your load; these are adjustable in size and can be moved around the basket as needed. As usual with Thule products, you’ll get a lifetime warranty against manufacturing defects, but only as long as the owner is the first buyer of the product; the warranty won’t be useable if you’ve bought a pre-owned Thule Trail XT canyon basket.
Can I leave roof bars on my car?
Yes, particularly if you’re constantly transporting bikes or equipment. All of our roof bars are made from
durable materials, so you don’t need to detach and reattach them every time you need to get the bikes to the
local park.
Having said that, if you want your roof bars to last for as long as possible, then it can be a good idea to
remove them and put them into storage if you aren’t using them. The less exposure they have to the elements,
the
longer it’ll be before you need to replace them.
We’d also recommend removing roof boxes when they aren’t in constant use, for a couple of reasons. Firstly,
certain plastics deteriorate over time in direct sunlight. Secondly, you may not be able to take advantage
of
car parks with height restrictions if your roof box takes you over the limit.
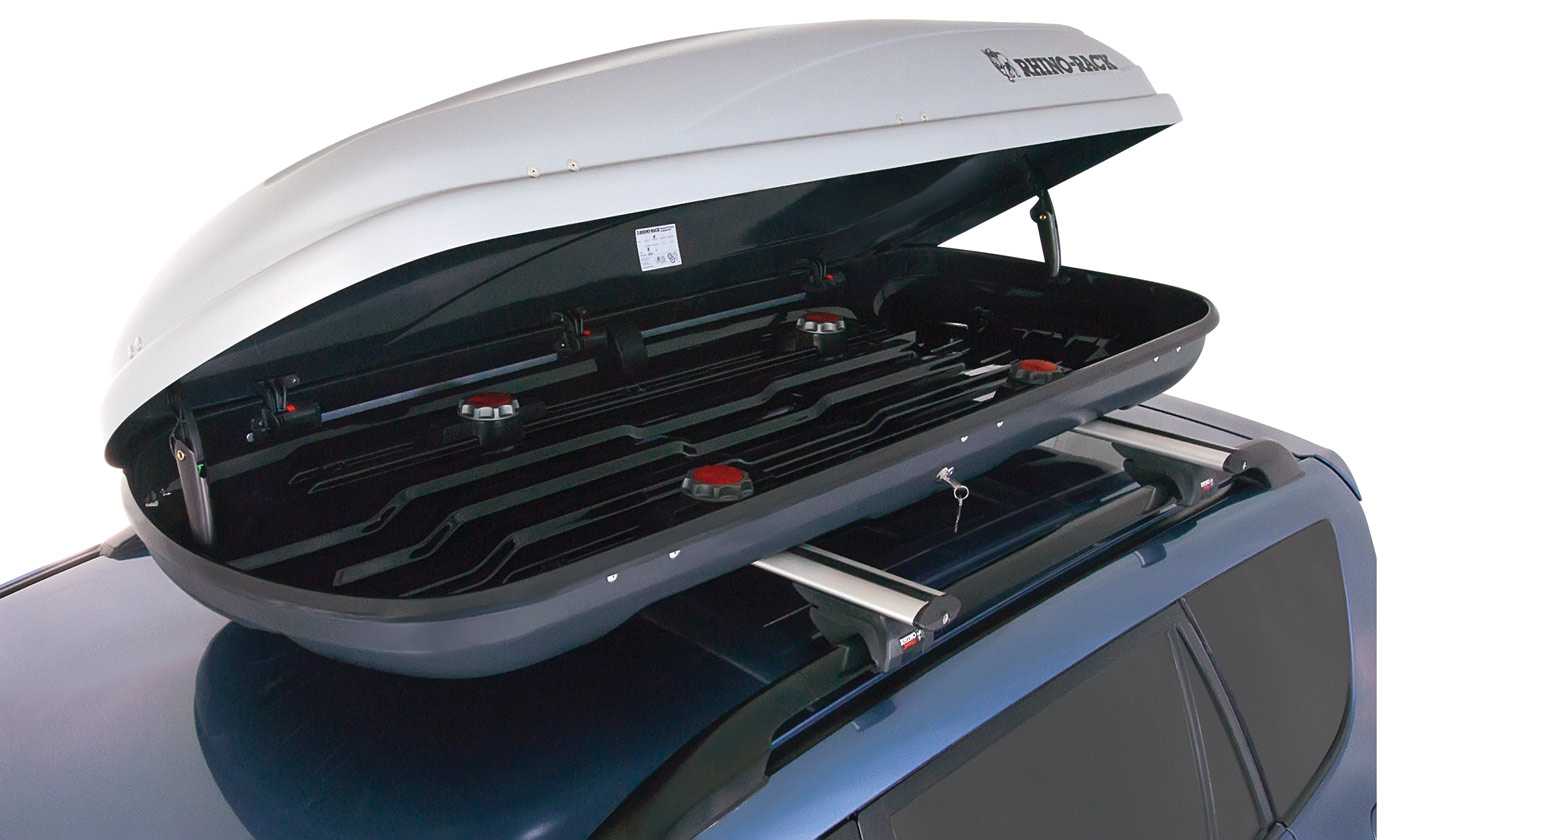
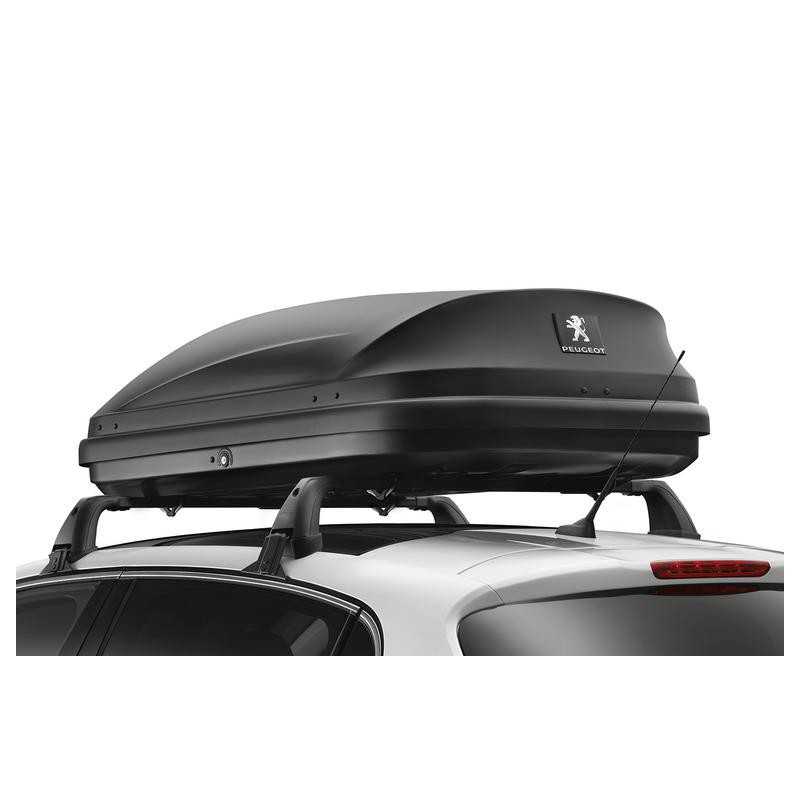
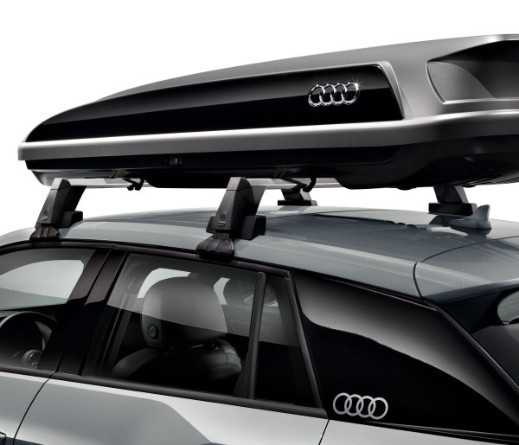
Thule Force Cargo Box
Check Price
This is probably the first thing you think of when considering Thule roof rack systems. But, of course, this is only an effective option if you have the crossbars fitted to support the box. As with most Thule roof rack products, the Thule Force Cargo is designed to sit on Thule crossbars, whether aerodynamic or square. But, the box can also be fitted to most aftermarket crossbar systems; you’ll need to check before you buy.
There are actually 5 options when considering a Thule Force:
The M: this is 65” x 34.5” x 16”, weighs 35 pounds, and can handle weights up to 110 pounds with a load space of 13 cubic feet.
A Force L is 74” x 36” x 16.5” with 16 cubic feet of space. It weighs 39 pounds and can accommodate 110 pounds of weight.
XL: the load space increases to 17 cubic feet, the width becomes 34.5”, the length 84” and the depth 17”. It weighs 44 pounds and can handle weights up to 110 pounds.
The XXL is bigger again with 21 cubic feet of space in a package that is 92.5” x 36” x 18”. This version weighs 56 pounds, although it can still only accommodate weights up to 110 pounds.
Thule Force Alpine: this is actually the smallest of all the Force’s. It measures 81.5” x 24.5” x 17” and can carry 110 pounds while weighing just 36 pounds, but it has a space limit of 12 cubic feet.
The diamond textured skin is more than just a way to make this box look good. It actually helps the box cut through the air, creating the least possible resistance, improving fuel economy and stability. This is also an effective way to reduce road noise.
An important safety feature is the ability to open the box from either side of the vehicle. This means you’ll be safe and able to access your luggage no matter where you’re parked. In addition, Sideloading boxes are generally much easier to pack than rear-loading options; doing this on both sides makes it even easier.
The box is straightforward to mount on your Thule roof rails, slot the clamps on the bottom of your box over the crossbars and slide the pin upwards from the bottom. You can then tighten it into position using the oversized knob inside the box. Because the box locks shut with the Thule one-key locking system, there is no need for locks on the clamps; you have to get inside the box to take it off.
The hardtop shell of this box has a large overhang to ensure that rain drips away from the box, keeping your belongings dry in even the worst weather. That’s perhaps one of the greatest advantages of the hard cargo box over the soft versions.
Which roof bars fit my car?
Although many of the roof bars we sell fit universally to most vehicles, you will need to not only check
compatibility, but also consider the properties of the roof bars too. For example, some roof bars may have a
weight restriction, so might not be suitable for larger families who want to take everything and the kitchen
sink away with them on camping trips. Then there are things like aerodynamics and ease of use to consider.
Here’s a quick overview of how these different elements can impact your choice.
Check weight limits
Normally, roof bars will have a weight limit printed in the instructions or on the box. Our roof bar ranges
have
a weight capacity from 50kg to 100kg depending on the roof bar you choose. However, your cars roof will have
a
weight limit too, which is normally lower than this. Make sure that you check the instruction manual for
your
car before loading up your roof bars, so you know that your roof can safely carry the weight of both the
bars
and your load before setting off.
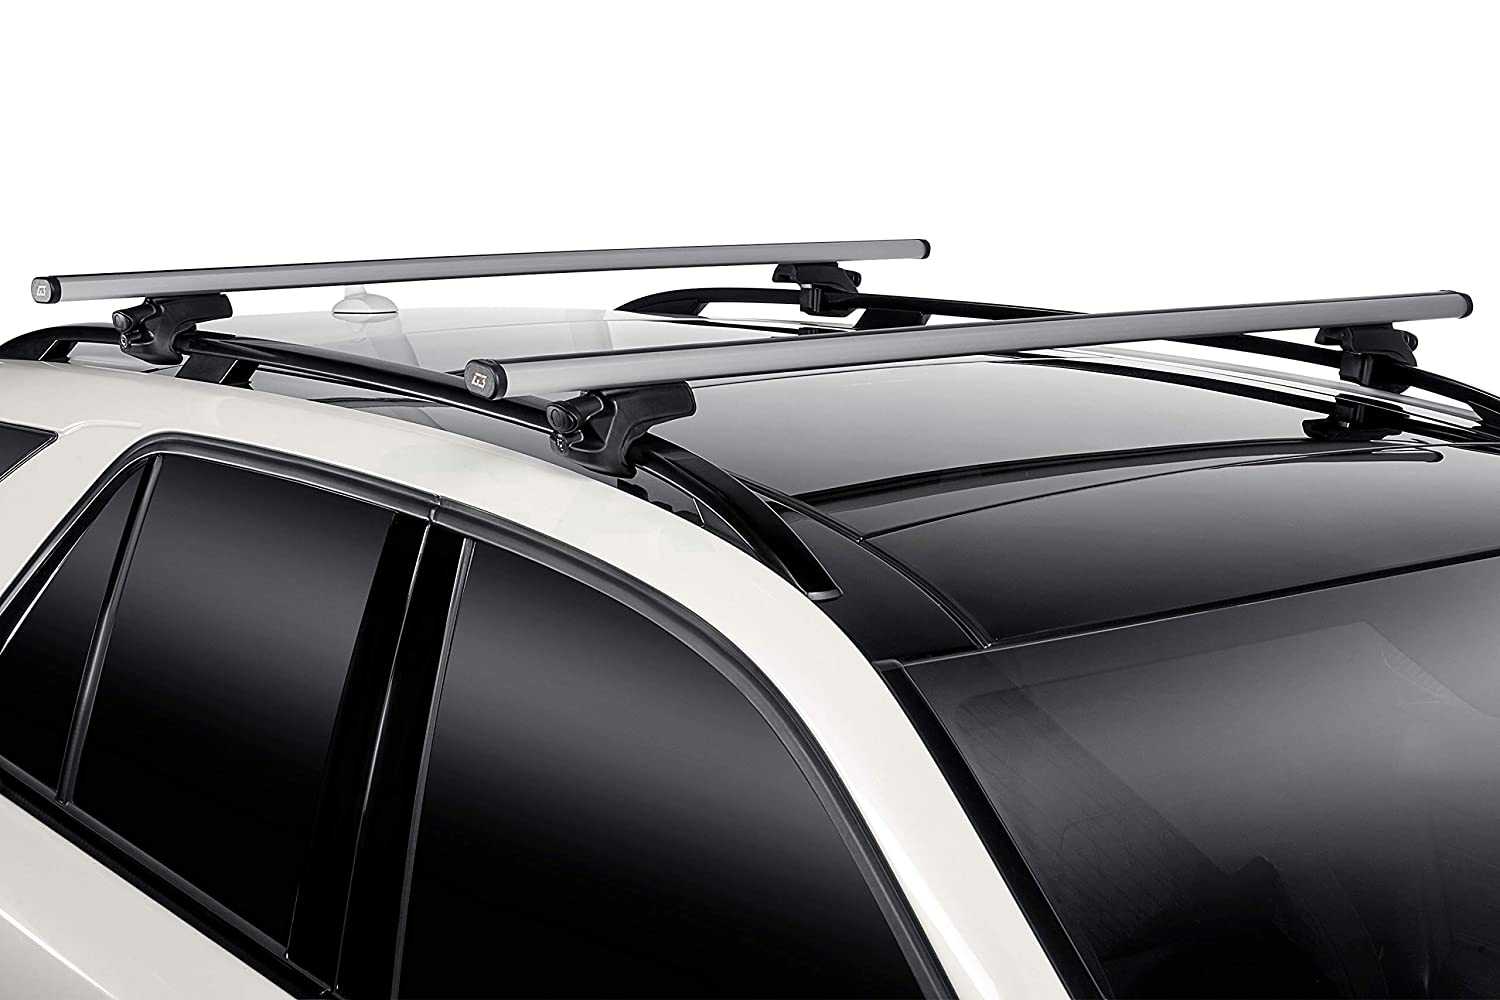
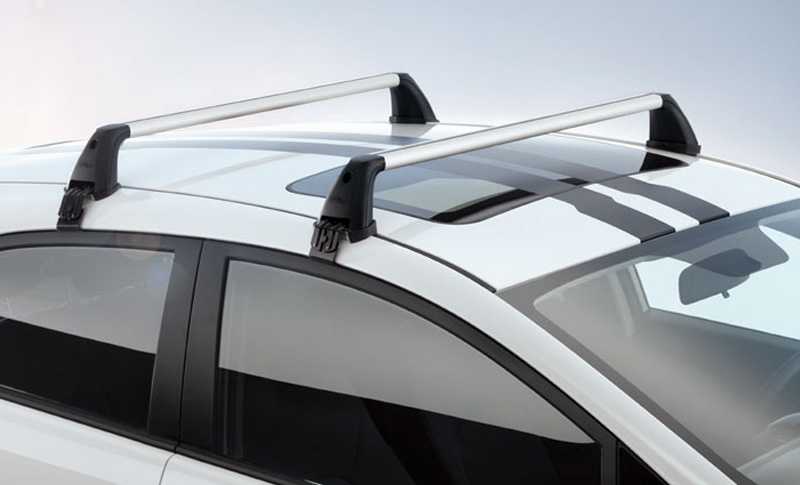
Consider aerodynamics
Our Halfords Advanced aero roof bars and Thule wing bars are made from aluminium and shaped to cut through
the
air, making them more aerodynamic than steel square bars. These roof bars will therefore make much less
noise,
so you won’t have to turn up the radio as loud!
The easiest way to choose the right roof bars for your car is to use our handy
tool.
All you need to do is enter your vehicle
registration, select your preferences on both roof bars and roof boxes, then we’ll show you recommendations
for
your vehicle – simple!
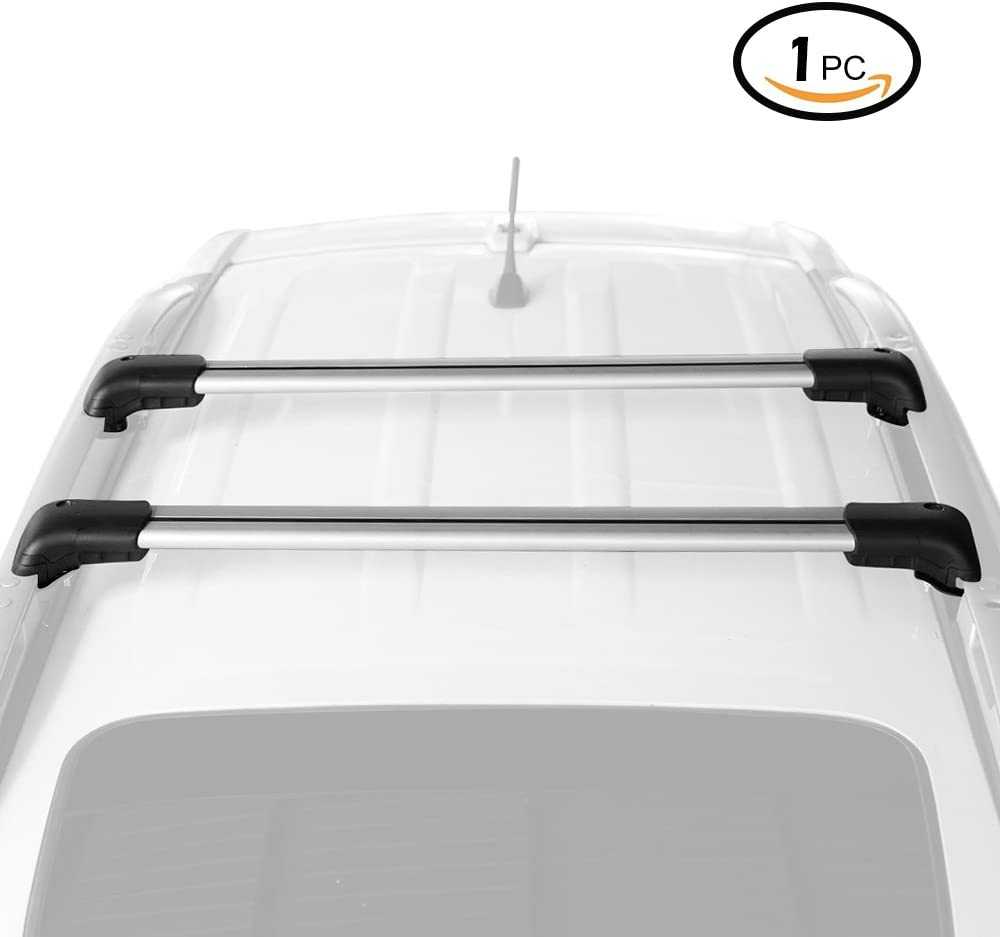
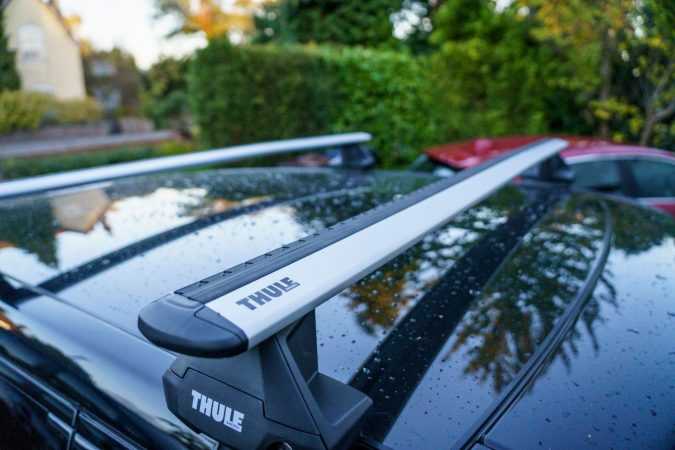
Thule Evo WingBar – Advanced Design
The Thule Evo WingBars affix your load to the roof. Once fitted they are then securely fastened using the included Thule locks, meaning that thieves won’t easily be able to remove them.
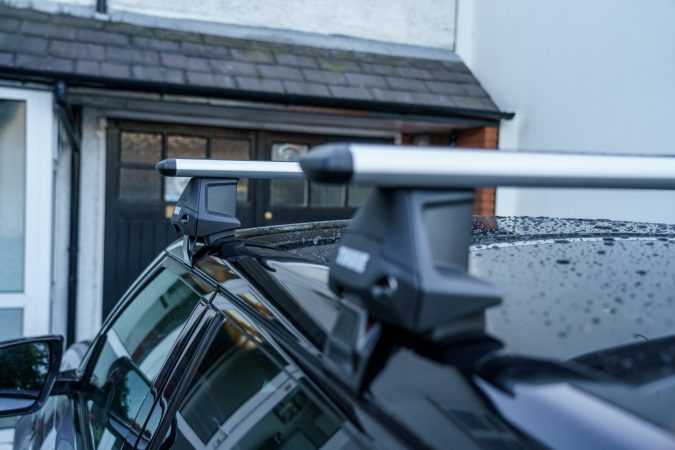
They also contain wind diffuser technology to disturb airflow and reduce noise while you drive. This also has the effect of lessening drag, which improves fuel economy.
The advanced design of the Thule Evo WingBars uses box beam internal structure to create an extremely strong load bar. This means that the can be used for more than a roof box, if you want to carry other items on top of your car you can use other accessories for bikes or ladders etc.
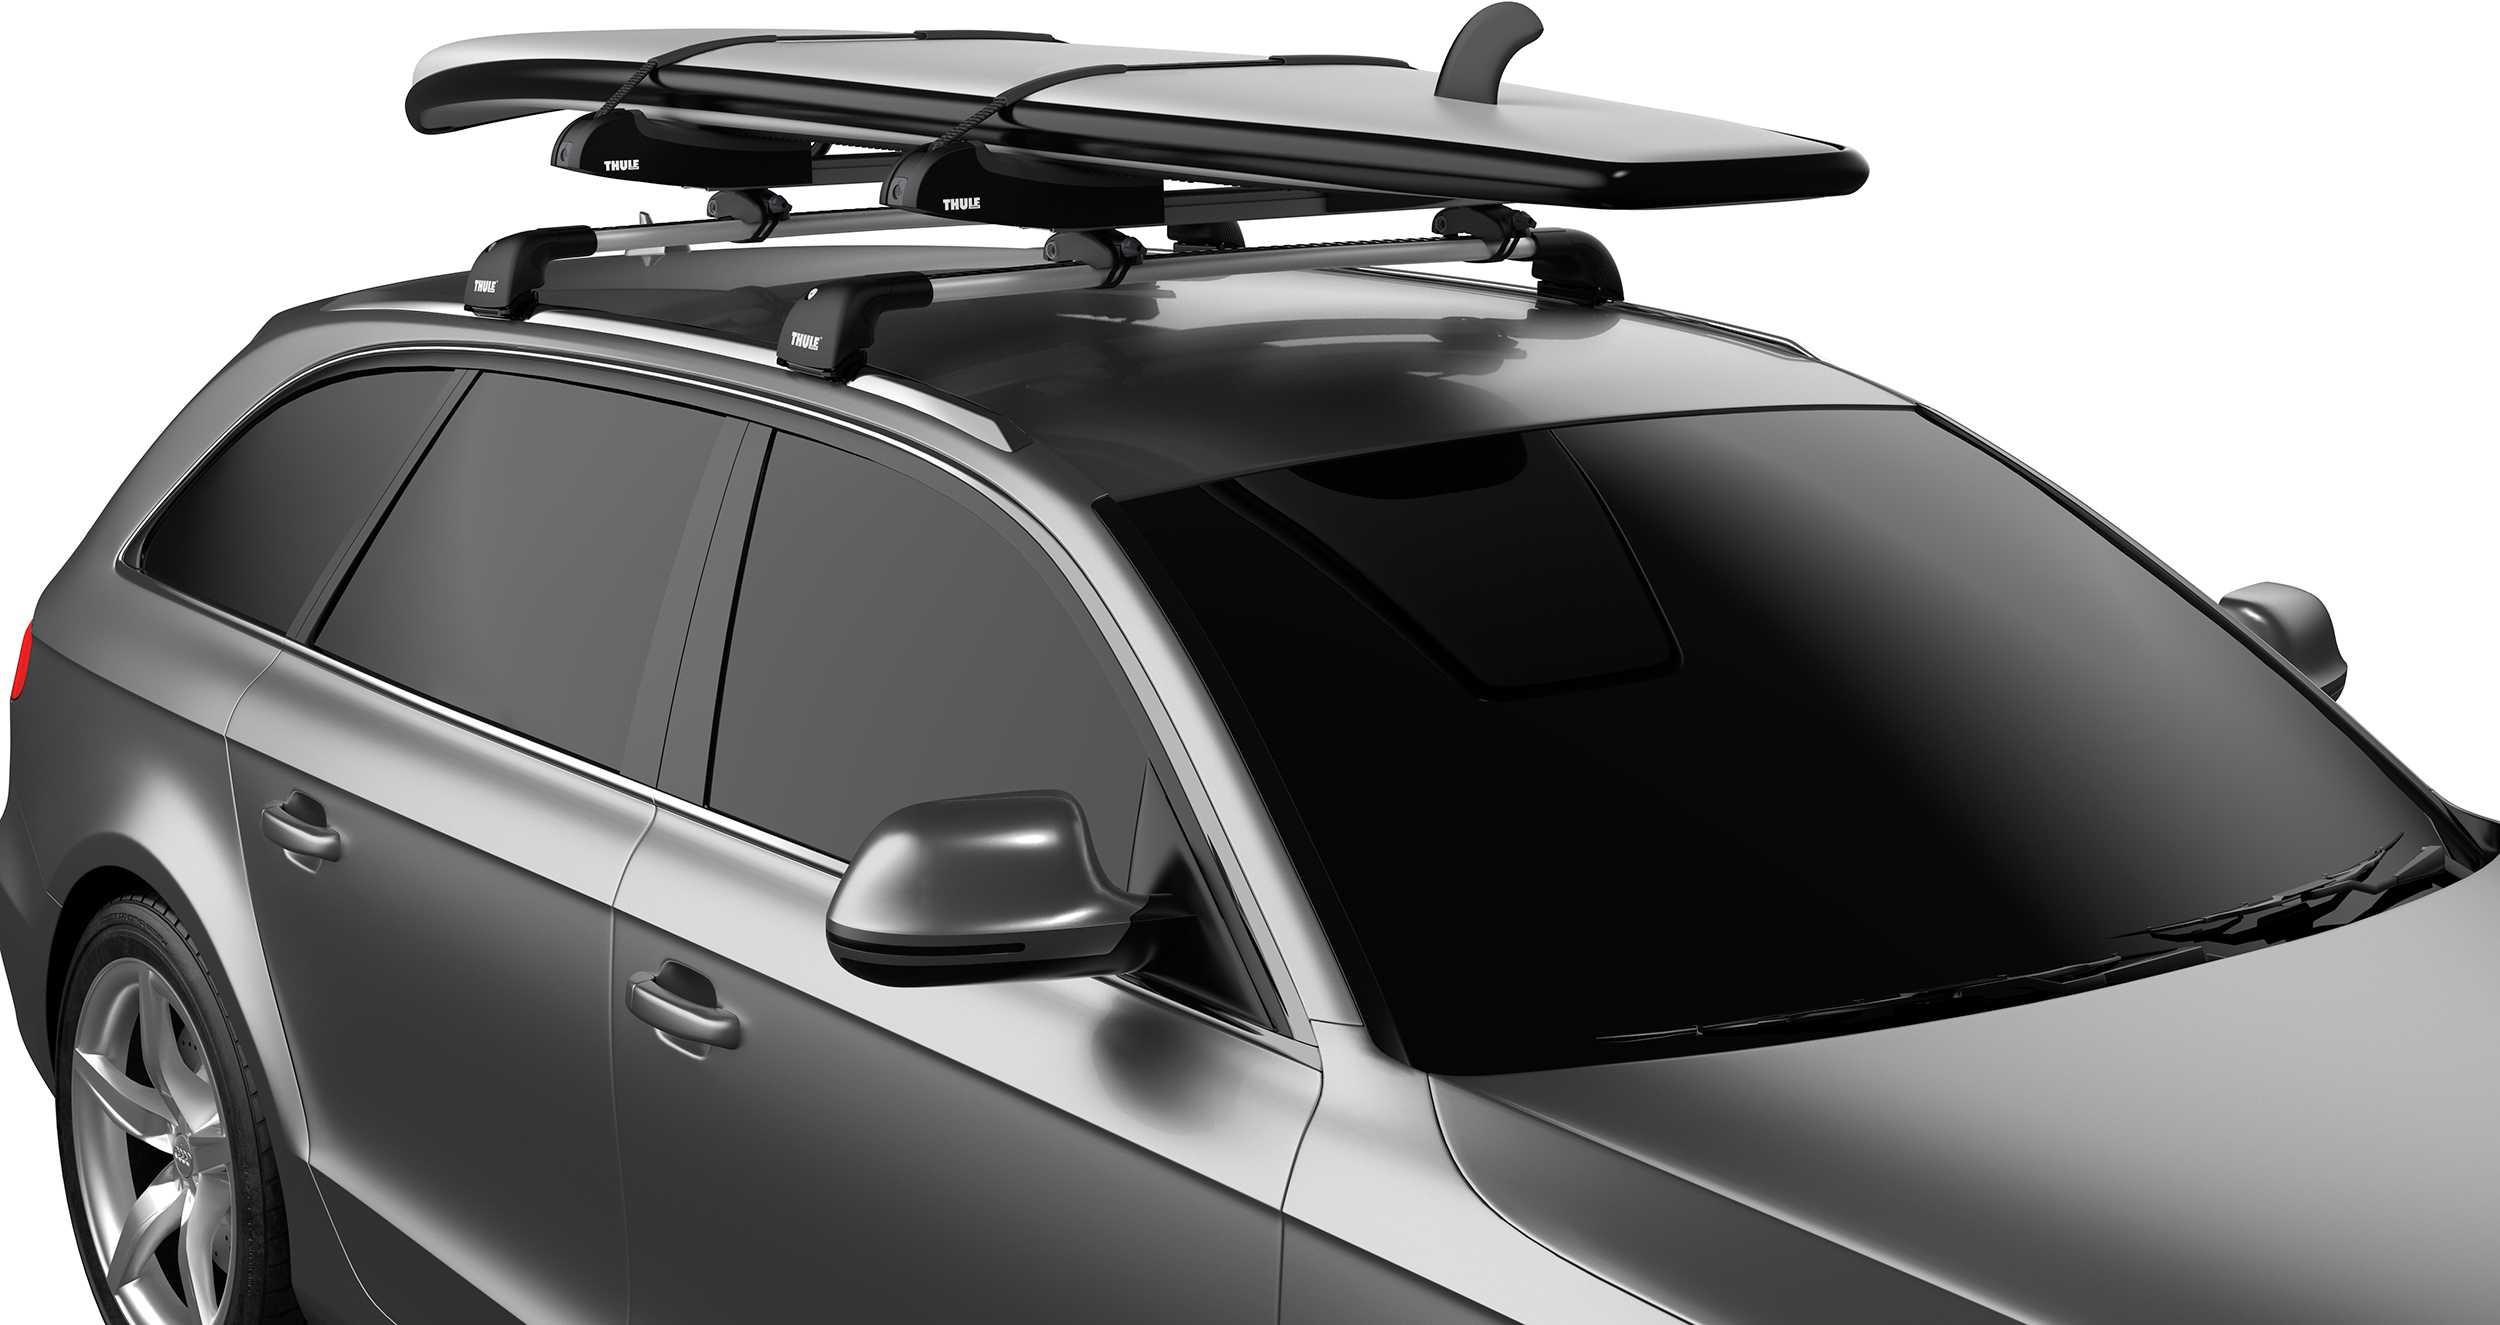
Thule Board Shuttle
Check Price
This smart looking and practical Thule roof rack has several distinctive features:
It should be obvious from the title that this rack is designed to take paddleboards or surfboards. However, it could even be used to take your kayaks with the right straps, making it one of the most versatile offerings on this list.
The telescopic element of this design is pretty unique; you can extend the arms to accommodate boards up to 34 inches wide. The boards are then held in place with strong and durable straps with padding wrapped around them to prevent them from damaging your boards. It can handle 2 boards comfortably, but you may need some extra straps to ensure both boards are secure.
You do need to have crossbars in place already. It is designed to fit the Thule Aeroblade or any Thule square crossbar. In reality, this means it will also fit many factory-fitted and aftermarket crossbars, but check before you buy!
The Thule Board Shuttle is made from corrosion-resistant stainless steel, as are the brackets that attach it to your roof. The steel is powder-coated to give it a distinctive black finish; there is only one color option.
To clamp this onto your car, lift the Board Shuttle into position. Then slide the clamp piece under the crossbar, in line with the top part of the clamp. You’ll see two oversized knobs which you can tighten. Alternate your tightening to ensure the pressure is even; the large size of these knobs will help ensure the rack is tight and won’t move. The whole process should be completed in less than 5 minutes, and everything you need is included with the rack.
You can then repeat with the other side of the rack and the second bar. At this point, it’s worth noting that there is no lock integrated into the Board Shuttle. So you’ll need to chin your boards to the crossbars if you think you may leave your car, and there’s a chance they’ll get stolen.
You should note that the middle section of this rack generates some wind noise because of its telescopic nature. However, once you’ve set the gap up, you can tape over the exposed section, which will greatly reduce the wind noise. It is also important to keep the straps tight as this will reduce the potential for wind noise; this is actually true regardless of what load you’re carrying and which Thule roof rack product you’re using.
As always, you can expect a good level of customer service from Thule, along with a lifetime warranty against defects, providing you’re the first owner. That’s reasonable and gives you peace of mind; Thule roof rack products are made to last.
Thule 868 Interstate Cargo Bag
Check Price
This is one of the few cost-effective and efficient Thule roof rack options for vehicles with crossbars or rails already fitted. It’s a great option for the occasional traveler who needs extra space.

Installing the cargo bag is surprisingly easy. It has 4 webbed straps, which clip onto the crossbars already secured to your vehicle. Each of the straps is of a compression type which ensures the bag will not move during transit.
It would also be possible to attach additional straps to these clips and run the fastening straps through the vehicle. However, this is not how Thule has designed the cargo bag to be used, and they will probably not stand by their warranty if this is how you choose to mount it. Of course, if you don’t have any roof rails, then this may be a viable option for a short journey.
The bag itself is made of heavy-duty canvas, which has no PVC, helping to minimize environmental damage when created. This is an important credential in the modern world and one that you should consider.
The cargo bag has a standard zip style access that runs along 3 sides of the bag, giving you effortless access, whether on the floor or the roof of your vehicle. In addition, a large storm-flap covers the zip to ensure water can’t get into the bag when it rains. In fact, the bag is designed to be waterproof and keep all your items dry. If you look at any review of this product, you’ll see that it’s excellent at this part of its job.
Inside the cargo bag, you’ll find a compression strap that is designed to prevent your luggage from moving while you’re driving. This is especially important for a soft cargo bag as movement is more likely to make the bag itself move, giving you issues when driving. Using the compression strap prevents this from being an issue.
It is worth noting that no locking system is supplied or specifically available for this Thule roof rack system. This is probably because the bag is made from material and could be sliced open if needed. But, that doesn’t mean you shouldn’t pick up a luggage lock, as this will deter most opportunists walking by, assuming you’re parked.
It is also important to be aware that although this cargo bag won’t take up all the available space on your roof, it isn’t advisable to mount other Thule roof rack products at the same time; they’ll prevent the straps from being fastened properly and could cause your cargo bag to come off or slide around on your roof.
Finally, it would help if you packed the cargo bag from the front back; this will help to reduce the material flapping in the wind as your drive. Flapping means wind noise and will place the bag under additional stress, which it is not designed for.
FAQs
There are several commonly asked questions regarding Thule roof rack systems. It’s worth taking the time to look at the FAQs to find an answer to your query. If the answer isn’t here, then it’s time to contact us; we’re always interested in your question and your thoughts.
Why Do I Need An Approved system?
An approved system is designed for cars in general and potentially your vehicle in particular. An unapproved system does not have certification or that you could make yourself.
It’s important to get an approved system as this will have been tried and tested for the road. While this testing generally makes the products more expensive, it also makes them safer, and the items you’re carrying are less likely to get damaged.
Will any roof rack system fit my car?
No. The type of Thule roof rack or a system from another manufacturer that fits your vehicle will depend on what type of vehicle you have and the roof. As described at the start, there are several different types of roofs; you need to know which type you have before you can even begin shopping for a roof rack.
While most bars are universal in size, the real issue will surround how you attach these to your vehicle or any existing roof bars you have. Purchasing feet and fitting kits are generally a large part of the purchase cost. But, providing you’re planning to keep your vehicle for a while, this is a worthwhile part of the investment.
How far apart should my cross bars be?
In most cases, the roof rack fitting instructions will tell you how far apart your crossbars should be. In general, the minimal distance between crossbars is 15” while the maximum is approximately 35”.
You should be able to slide your crossbars up or down if they are fitted to a roof rail or clamped through a door. However, fixed place roof racks cannot be relocated; your crossbars will have to be in the right position for the Thule roof bar system, or you’ll have to use a different one.
Does a roof rack affect my fuel consumption?
Any roof system will increase the fuel you consume, no matter how aerodynamically it is designed. The simple fact is, adding items to your roof will disrupt the airflow of the car. Instead of rising smoothly over the car, it will find ways through the roof rack system.
This will create noise and drag, increasing your fuel bill and potentially creating a whistling noise that you’ll hear when driving.
This is why experts recommend removing the roof rack system when not in use, although this is not always a practical option.
Does The Thule Roof Rack Have A Warranty?
Thule roof rack systems are all covered by their standard warranty. This covers you against defects in the workmanship but not against any issue relating to wear and tear. Workmanship issues are covered for as long as you own the roof rack, but the warranty is not transferrable to another person.
Identifying What Roof Your Car Has
The basic roof rack system needs you to have crossbars fitted to your vehicle. These allow you to set an object onto your vehicle and secure it in pace; without risking damage to your roof. Crossbars are also essential if you wish to fasten your accessories, such as the cargo box or bike racks to your roof.
However, before you can buy the right crossbars for your vehicle, you need to understand the different types of vehicle roofs; knowing which type you have will help you to purchase the right equipment on your first attempt.
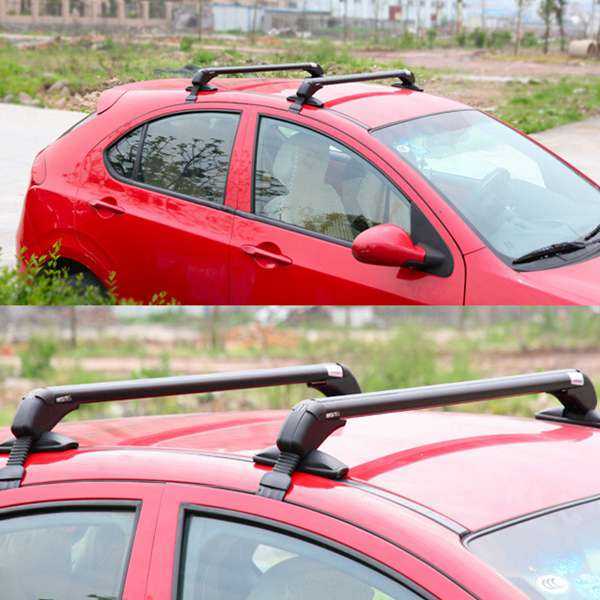
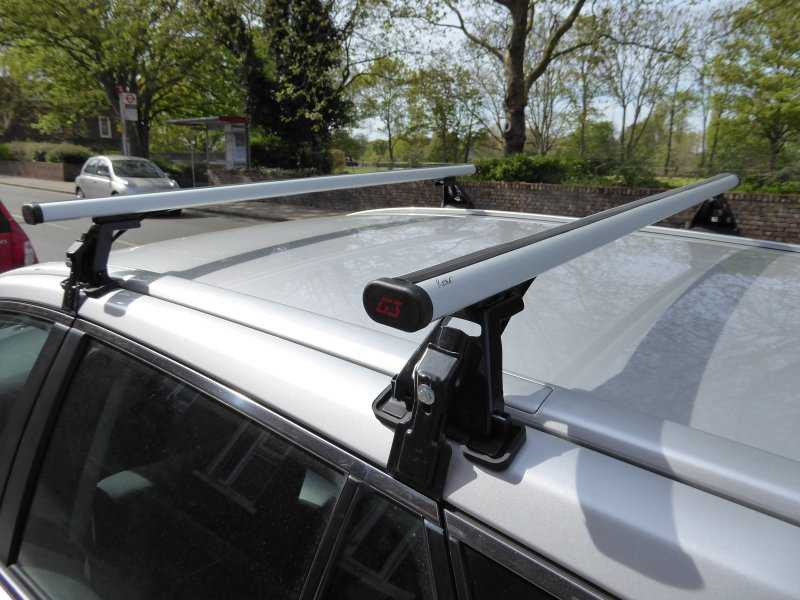
Naked Roof
If your roof is smooth, without any bars fitted to it, and with no rain gutters at the edge, then it will be considered normal or naked.
The only way of getting cross bars onto this type of roof is to use the feet. These sit on the roof of your car and clamp onto your frame, between the roof and your car doors. The clamps are slimline to ensure they don’t interrupt the normal closure of your door. You’ll have to pick the right Thule feet for your vehicle.
It’s worth noting that you need to be able to open the door to fit these crossbars. So if you have a normal roof and just two doors, you’re not going to be able to fit a roof rack.
Roof Rails
Many new vehicles, especially SUVs, have long rails that run the length of the vehicle on each side. These are generally referred to as roof rails and make it much easier to add crossbars to your roof. In addition, Thule crossbars can be clamped to the existing roof rails and locked into place.
This is a more secure way of fastening your load and will usually ensure a better distribution of the load weight across your roof.
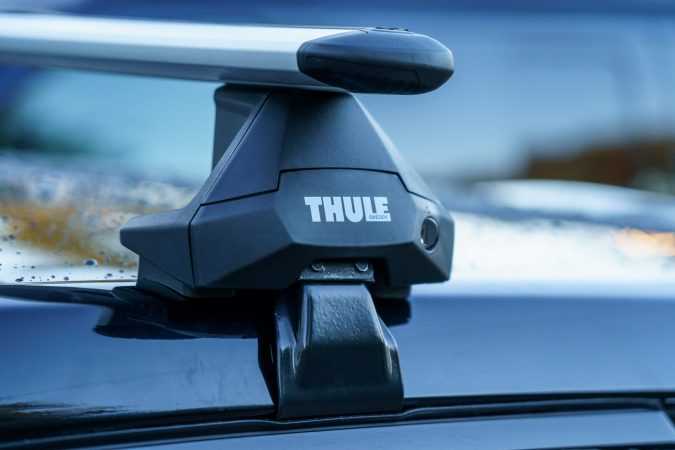
Fixed Points
There are a few manufacturers who have realized how important a roof rack and accessories are. In response to this, they have created fixed mounting points instead of adding a roof rail.
The mounting points will usually be under a small strip of rubber or even metal. Remove this, and the Thule feet will clip directly into the slot. This is one of the fastest ways to mount your feet and is also very secure as they usually have locking mechanisms integrated into them.
An alternative option on some vehicles is the channel that runs from the rear to the front of your vehicle. The feet clip straight into this channel with the aid of specialized adaptors.
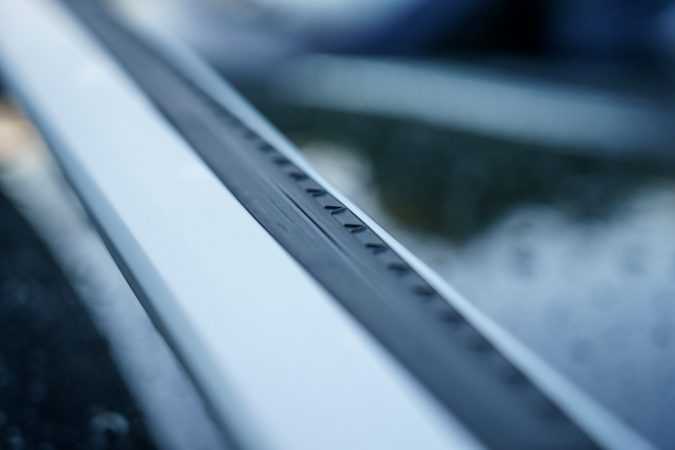
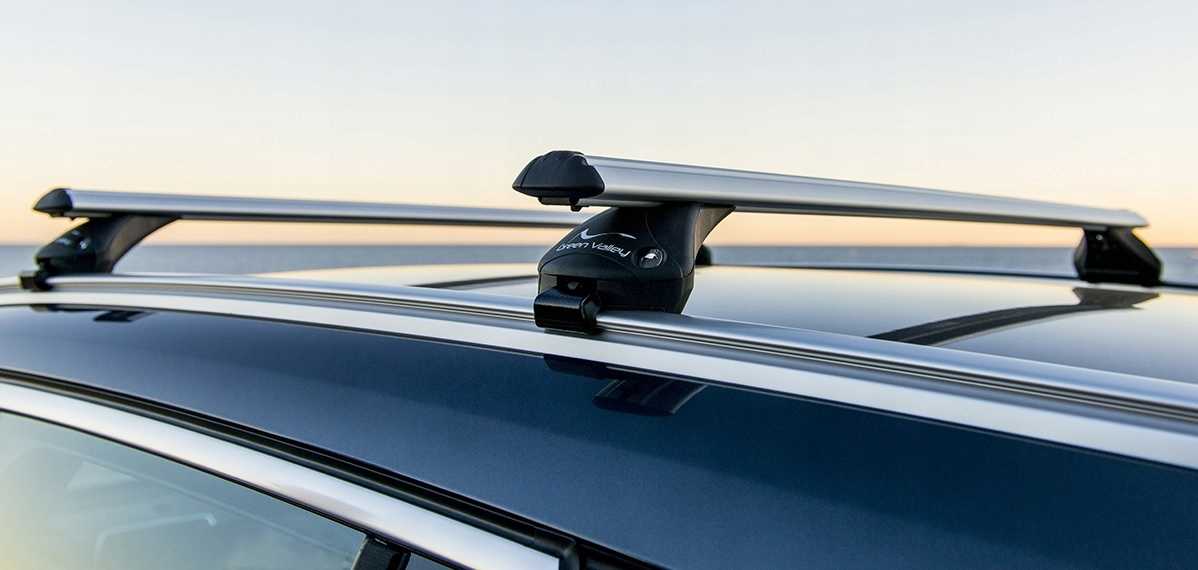
Flush or Low Profile Rails
These are basically the same as roof rails in that they are already mounted to your vehicle. However, instead of being raised, there is no gap between the roof rail and your vehicle.
Thule feet still clamp directly to the flush rails; the missing gap is designed to reduce drag and wind noise when driving.
These will have a special fitting kit and are generally very easy to install crossbars and other Thule roof rack options.
Rain Gutters
This is an old option now and not one you’ll see on most modern vehicles. The idea was that a strip of metal edging is fastened to the car when it is made; these channel water away from the roof without letting it pour into your window.
To fit your roof rack on this type of vehicle, you’ll need to put the foot in the gutter and then clamp the foot to the gutter.
Your roof will fit into one of the above; once you’ve got the feet in place, you’ll be able to slot the crossbars in, whether round, square or aerodynamically designed and then mount your equipment or Thule roof rack accessories.
How To Attach The Thule Evo WingBars and Force XT Roof Box
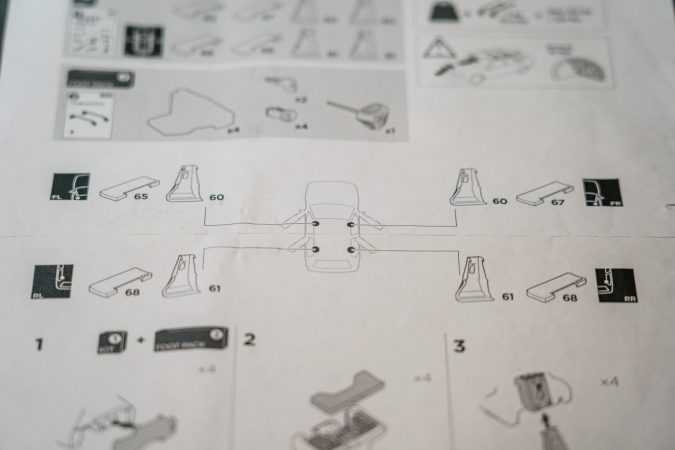
Before you attach the Thule Evo WingBars to your car, make sure you clean your car thoroughly to avoid any damage around the mounting points. Thule provides plenty of instructions in the box and there are even some youtube videos explaining the process.
Fitting The Thule Evo WingBars And Clamps
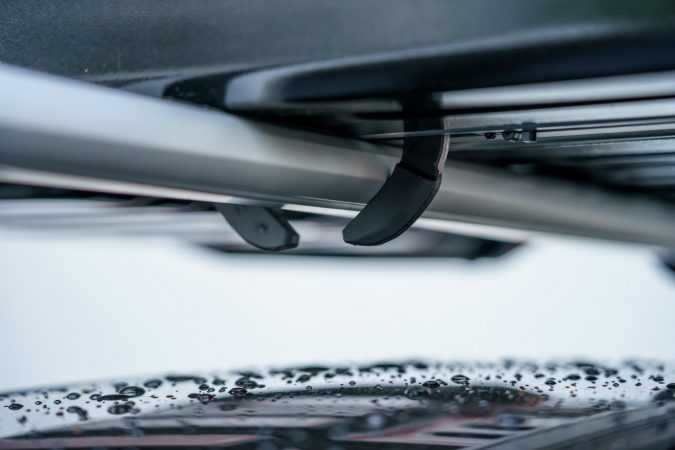
In our case, the Evoque had a panoramic roof and no traditional mounting points for the roof bars. But there was a clever mounting system from Thule meaning we could have the roof bars installed on this car.


We attached the clamps to the WingBar, set it to the correct size, put the rubber feet in the exact location needed on the car, then used the Range Rover Evoque 5dr kit to clamp it down onto the car. I took my time doing this, as I wanted to make sure it was right, but overall it wasn’t too painful.
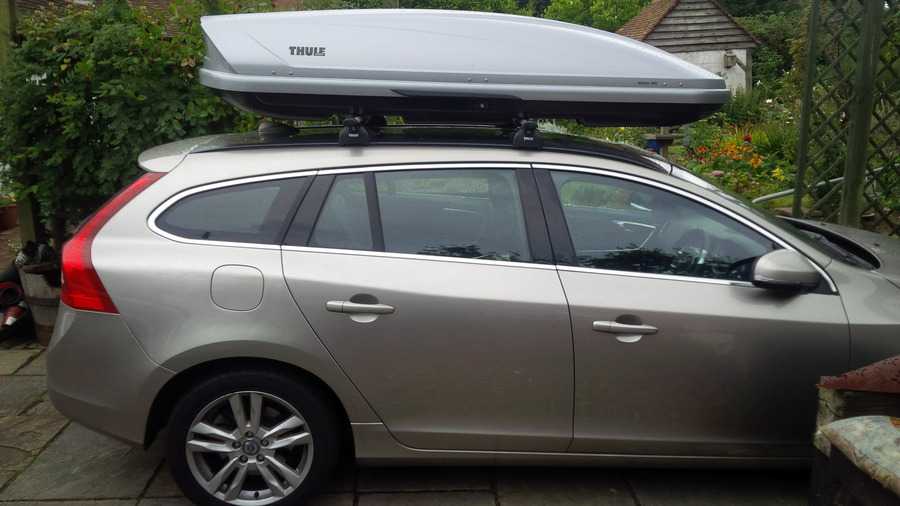
Fitting The Thule Force XT Roof Box
Once you have the bars on, the Thule Force XT roof box will only take a moment to install, lift it on to your car (easier with two people). Align the bars over the correct mounting points, then open up the roof box and turn the knobs closing the clamps onto the WingBars.
This latest offering from the Swedish outdoors brand is easy to fit to your car due to its high tech PowerClick quick-mount system. It features an integrated torque indicator, which clicks when it’s correctly mounted, ensuring a fast and secure fitting.
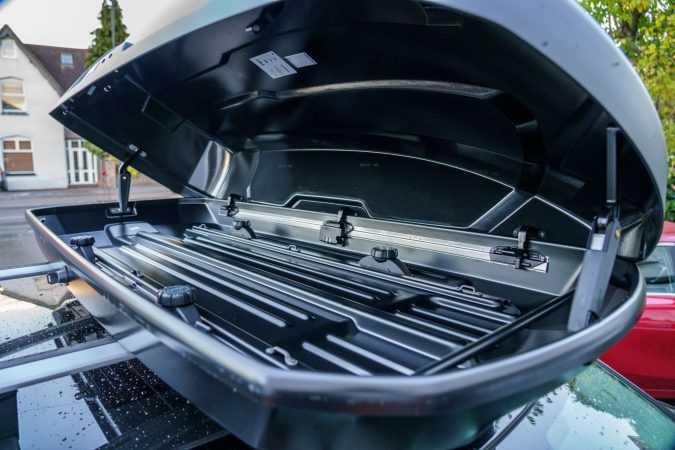
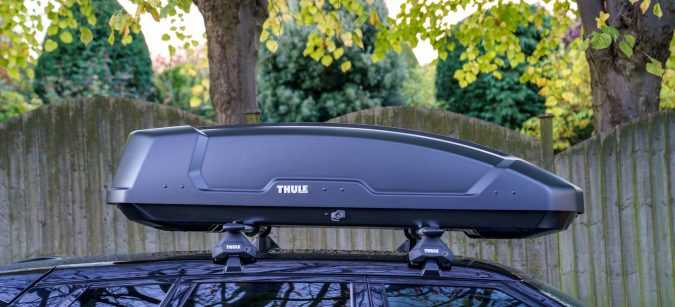
This large Thule Force XT roof box offers a whopping 450 litres of capacity. Take a look at the pictures, 450-litres is plenty of space no matter what you are taking with you.
Thule Force XT Roof Box Dimensions
Volume: 450 LExternal dimensions: 190 x 84 x 46 cmInternal dimensions: 177 x 73 x 41 cmHeight off crossbar: 43 cmLoad capacity: 75 kgMounting system: PowerClickWeight: 18.7 kgLoad capacity skis: (pairs)5-7Load capacity for Snowboards: 3-5Max length of skis: 175 cm
Thule SUP Taxi 810XT
Check Price
The Thule SUP Taxi XP is designed to carry your paddleboard wherever you want to go, and it’s one of the best options currently available on the market. Like most Thule roof rack options, it will fit any of the Thule crossbars, and most factories fit or aftermarket bars.
As mentioned for other Thule roof rack parts and accessories, this is perfect for your budget, allowing you to transport your paddleboard safely and upgrade to Thule crossbars in the future, using the feet and Aeroblade mentioned earlier.
A great feature of this Thule roof rack is that it is telescopic, push down on the button, and you can slide the bar outwards; until it reaches the desired width. The maximum board width it can accommodate is 34”. It can even handle narrow paddleboards.
However, you should note that this rack is designed to carry 2 paddleboards. Ideally, they should be very similar in width; if they are not, there is a chance the narrower one will move in transit. The telescopic movement is spring-loaded, ensuring a good grip on your paddleboard. It is also rubber coated to ensure your boards are not damaged while in the carrier.
The simple webbing style strap locks over the boards, helping them to stay in place. You’ll also note that the cradle is curved, allowing the paddleboards to sit securely in the grooves, reducing the chances of movement, wind noise, and even the board lifting as you drive. The strap over the top of the boards goes through a similar ratchet system to the one that holds the rack onto your crossbars. Once tightened, it can be locked into position with the integrated Thule lock.
It is important to use the supplied tie-downs to secure the front and back of your board; this will help stop it from lifting and placing a strain on your carrier.
Getting the carrier mounted to your vehicle is very easy. Simple position the clamps on top of your bars and then bring the steel-reinforced webbing straps under the crossbars and into the ratchet-style clamp. Pull them tight with the small thumb knot button; you shouldn’t be able to move the clamps. You can then lock the clamps in position with the built-in lock. This uses the one key system for simplicity; you’ll be able to match all your locks to one key.
This board carrier can be positioned in the center of your vehicle or to one side, depending on what else you may be carrying and the weight of your boards and loaded vehicle. The rack can handle two boards at 75 pounds each; it’s unlikely that yours will be anywhere near this weight; you can even put inflatable boards on your roof, ready to use.


